Main Concepts
Let’s start with the main ideas in Cashculator.
More than just tracking your finances, Cashculator is a powerful planning tool.
Cashculator separates plan and actual data, allowing you to see how your actual finances compare against the plan you prepared. If you only use it for planning or high-level tracking, you don’t even need to enter detailed actual transactions.
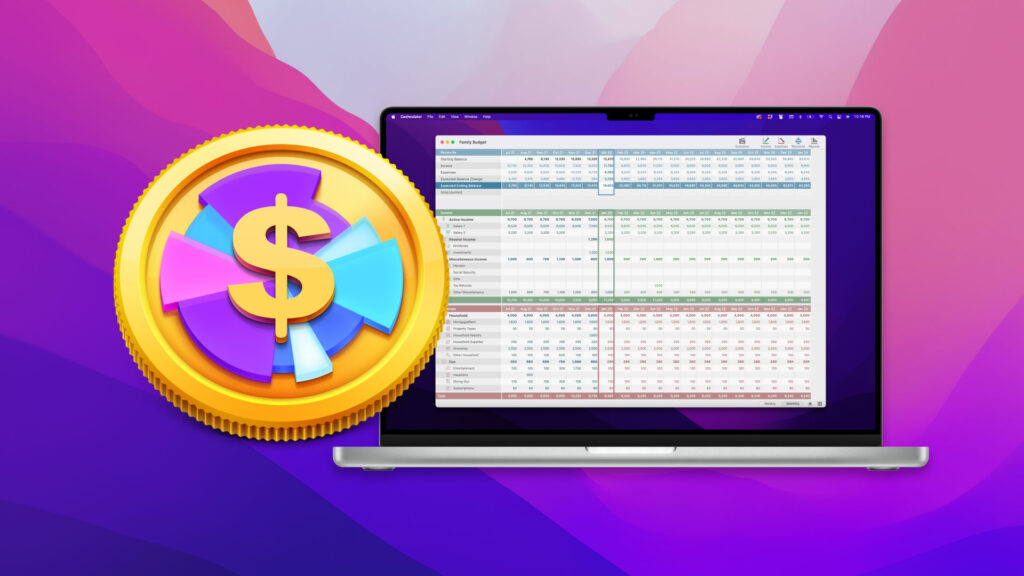
The application is based on the familiar concept of spreadsheet tables. There’s a table for income and another for expenses.
Each column represents a range of dates like a week or a month.
Each row in a table represents a category or a group of categories.
Categories are listed on the left side of the table.
Income and Expenses Tables
Each cell in the table shows the total of all the transactions for its category, in that column’s date range.
A cell may show either the planned or actual amount, depending on the active view mode.
Plan and Actual amount
Cashculator has separate data for planned transactions and actual ones.
The planned amount is what you think or hope you’ll spend before you spend it. For an accurate cash flow forecast that tells you how much money you’ll have each week or month, you should enter plan values in advance.
Actual values should be added and dated when you actually spend (or receive) the amounts. Plans can also create actual transactions automatically, if you choose so.
Viewing modes
Income and Expenses tables have four viewing modes to help you work and see the most relevant data based on your goals when using the application.
The control on the bottom selects which mode is active.
View modes
– Actual: Show only actual amounts.
– Plan: Show only plan amounts.
– Both: Each category will show two rows, with actuals on top and planned right below.
– Combined: this mode will automatically show in each cell either plan or actual data. Columns representing past data will always show actual amounts and future will show the largest of actual or plan. Columns that include current date will have the best approximation of the amount.
Combined amounts is what Cashculator uses for balance reports and graphs.
Entering Transactions
Start a new transaction in the income or expenses tables by selecting a cell that corresponds to the category and date range of the transaction. Make sure the correct view (Actual, Plan) is selected depending on which type of transaction you want to add. In “Both” view, pay attention to the row.
Then do one of the following to show the transaction entry form:
– Press Return.
– Press one of the digit keys to show the form and enter the amount right away.
– Click on the Edit (pen icon) button in the bottom bar, or
– Double-click on the cell to select it and show the form.
Entering Actual Transactions
Enter the amount, an optional description and adjust the date, if needed.
Press Return to save the transaction and reset the form.
Press Escape to cancel
Or, simply click the Save or Cancel button on the form.
Entering Plan Transactions
Plan transactions have two additional options:
1. Recurring cycle – a planned transaction can be recurrent – meaning it repeats at set intervals. Check the “Recurring cycle” checkbox to enable and configure the repeats. Check “Ends on” to set an end date.
2. “Automatically fill-in actuals” – when this is checked, an actual transactions will be created on the date of the planned transaction with the same description and amount. This eliminates the need to manually add an actual transaction when you know the actual amount will match the plan.
Viewing Transactions
To see all transactions associated with a table cell, do one of the following:
– Right-click on the cell.
– Press the Space bar when the cell is selected.
– Press the Closer Look button (eye icon) at the bottom of the window.
Click column headers to sort by date, description or amount.
When viewing a list of actual transactions, a bar graph below the list will display how the total amount of actual transactions compared to the planned ones for the same time period.
Deleting Transactions
Select the transaction you want to remove, then:
– Press Delete, or
– Click the Delete button.
Editing Transactions
You can edit a selected transaction by:
– Pressing Return.
– Double-clicking the transaction you want to modify.
– Clicking the Edit button.
Learn more
Cashculator has additional guides that cover the main screens in more depth.
Find these guides in the Help menu.
Learn more about Cashculator or get it from the Mac App Store now.
