Hello Cashculator users! Welcome to the article about launching Cashculator 2 and seamlessly transitioning from Cashculator 1.

Importing Data from Cashculator 1
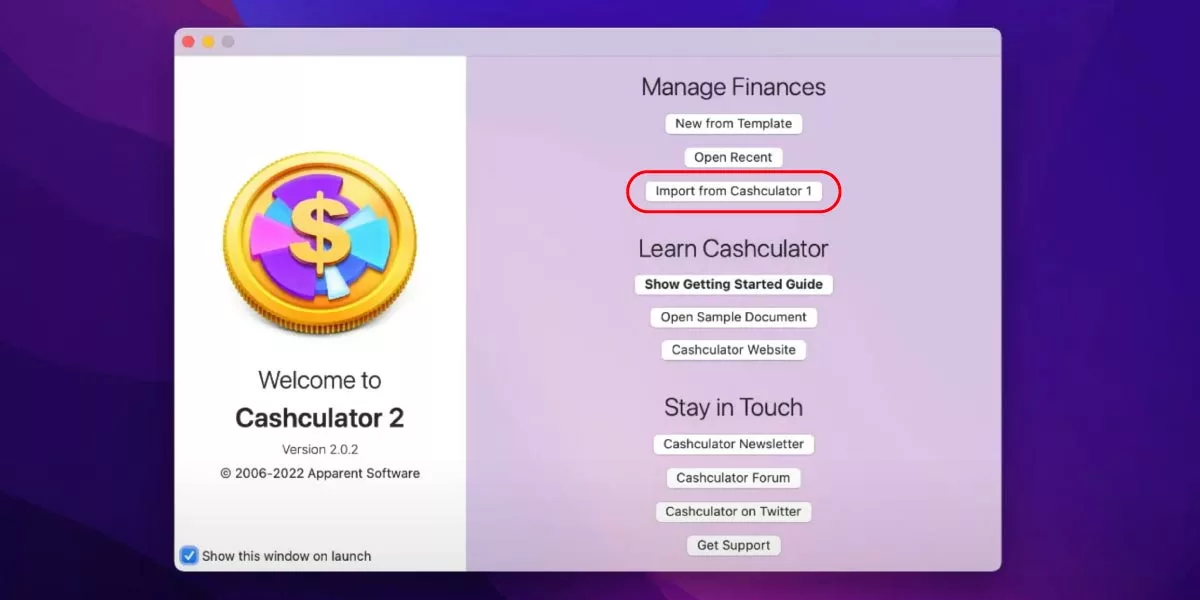
When you open Cashculator 2, it will automatically detect if you have version 1 installed. If it detects the presence of Cashculator 1, you will see the option to “Import from Cashculator 1” in the Welcome window
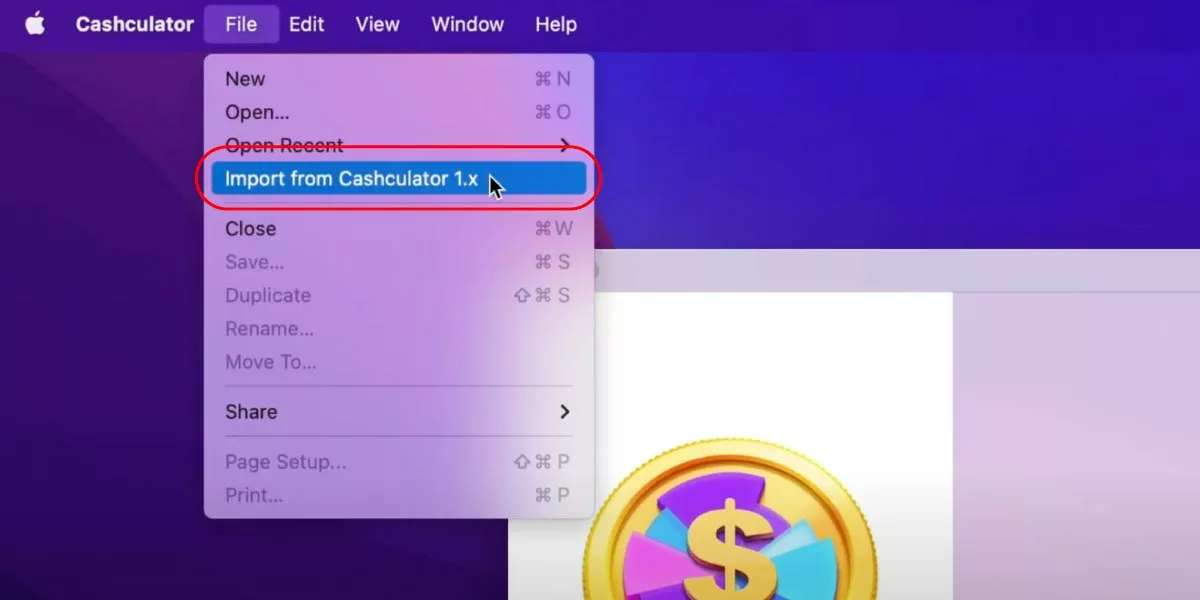
Additionally, you can access the import feature through the File menu.
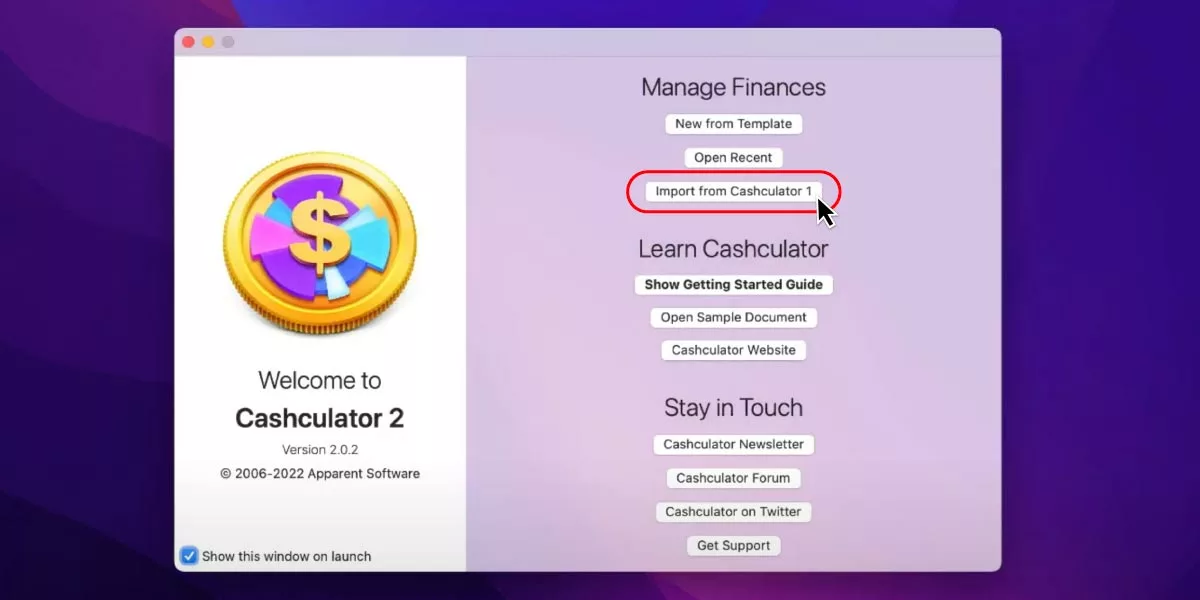
Click the button to show the Import window.
Cashculator 2 will attempt to identify the installation of Cashculator 1 and locate its library, likely determining its location. There are also instructions on what to do if you used a custom location for the database (a file named CCDB) in Cashculator 1.
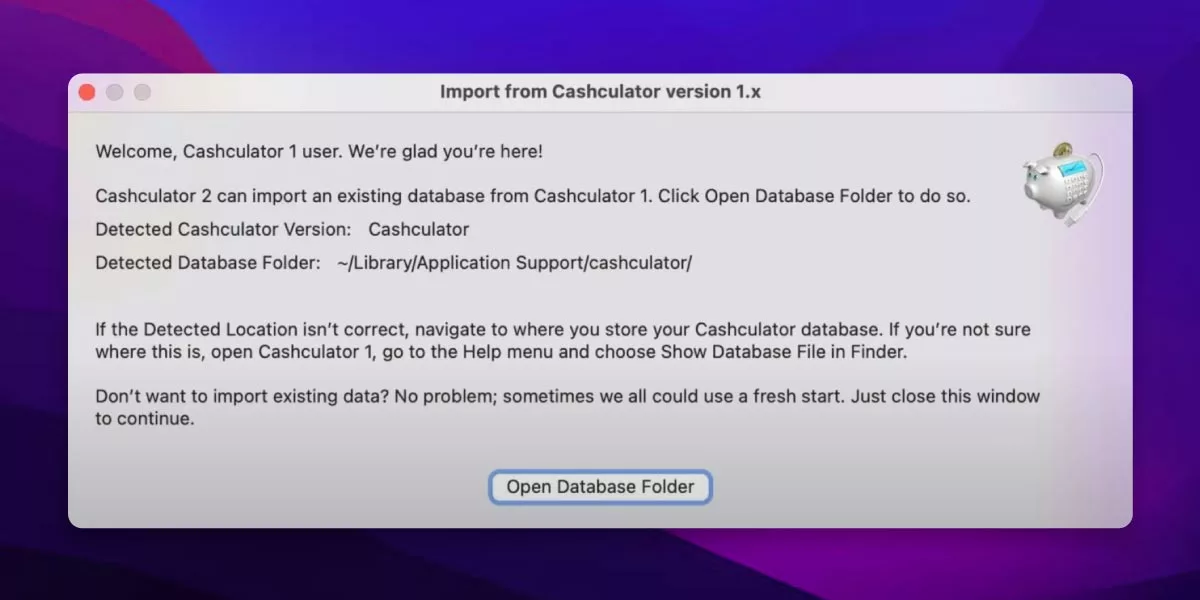
Click “Open Database Folder” button and, if you see CCDB file there, click Open.
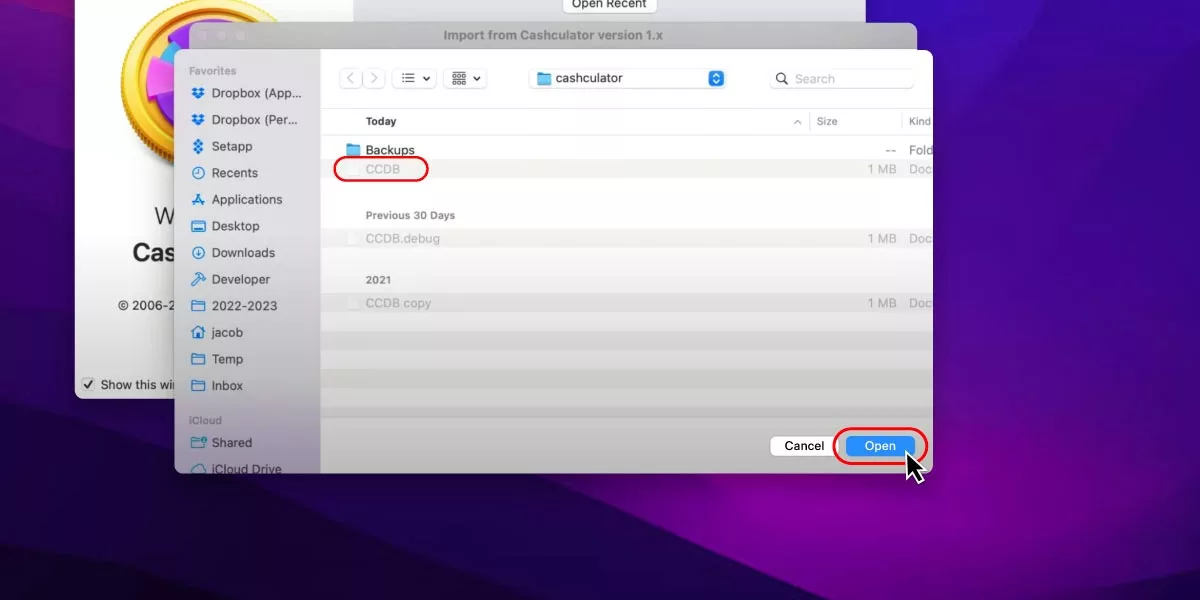
Congratulations! If all goes well, your data will open in a new Untitled document in Cashculator 2.
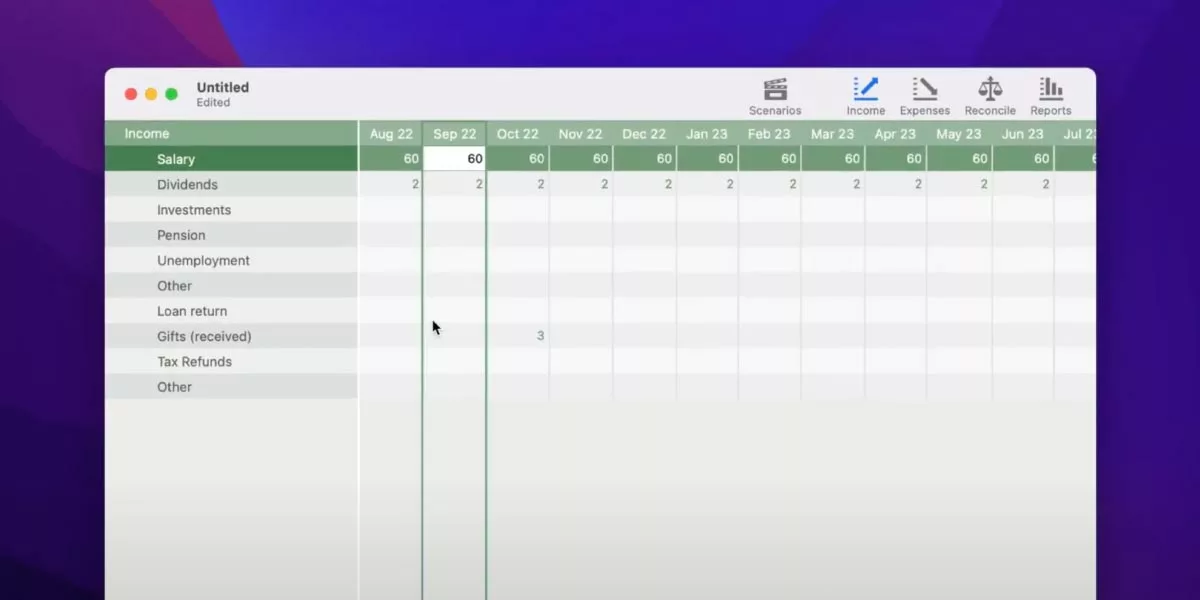
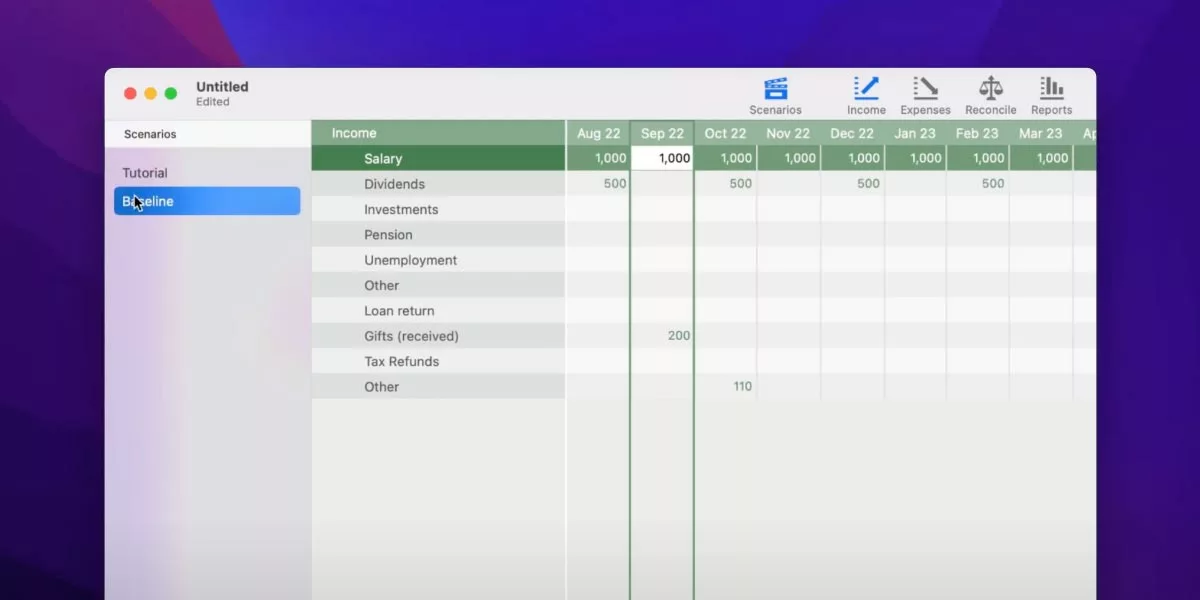
You should see all your scenarios (you can rearrange the order by dragging).
All the categories will also be copied but not the icons. You can assign icons later in Cashculator 2 from its collection of icons.
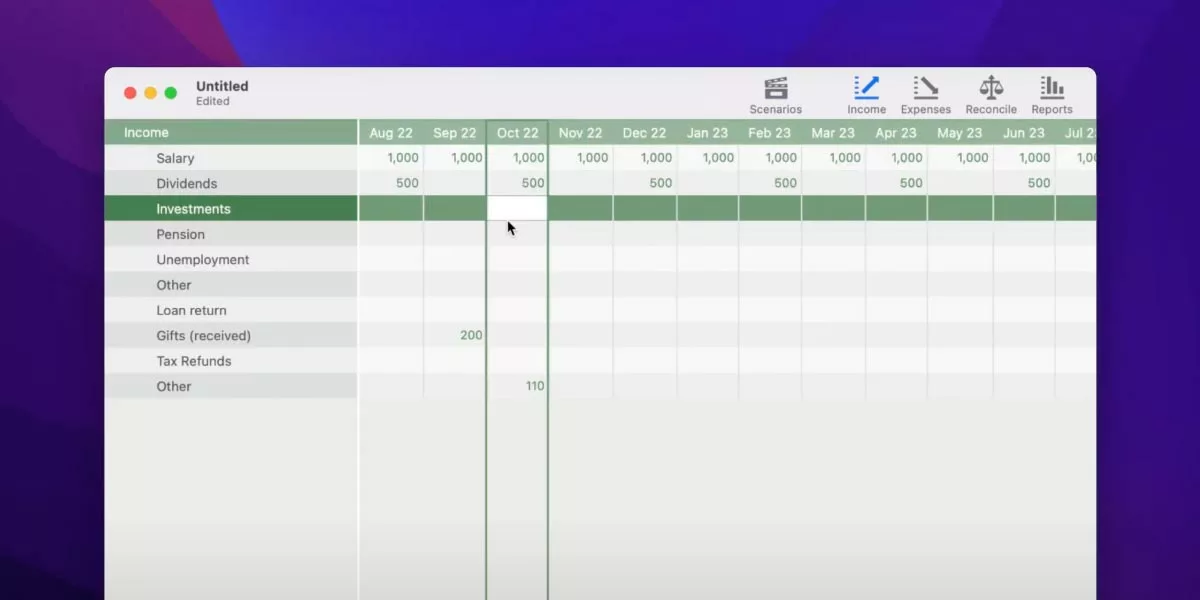
Income and expenses will convert into separate transactions in Cashculator 2.
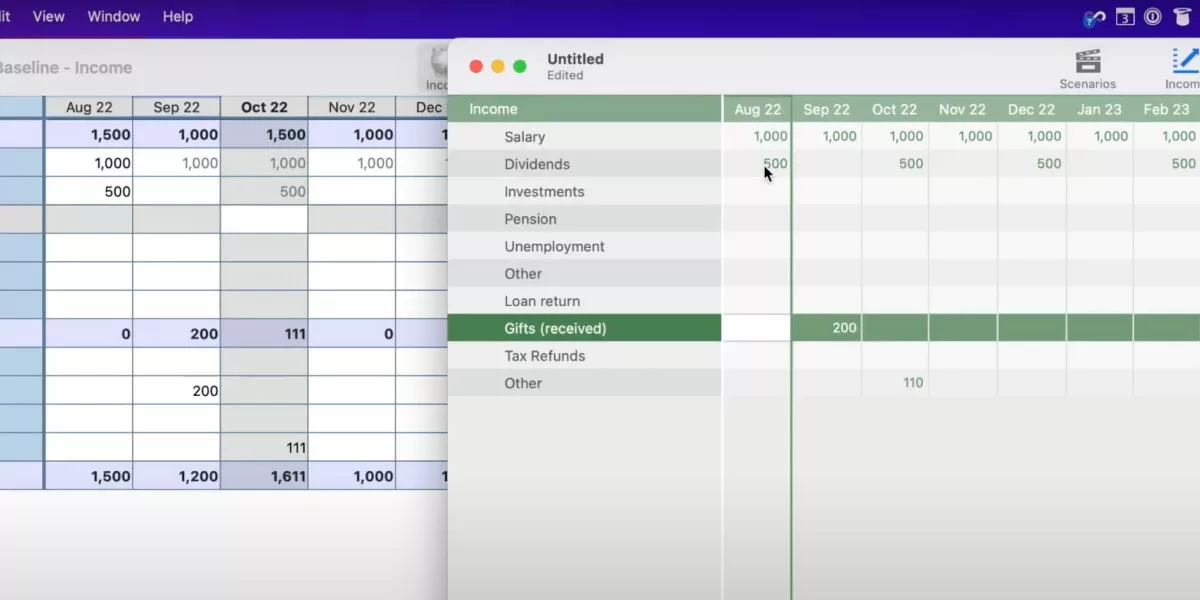
Entries from recurring categories in Cashculator 1 will convert to recurring transactions in version 2.
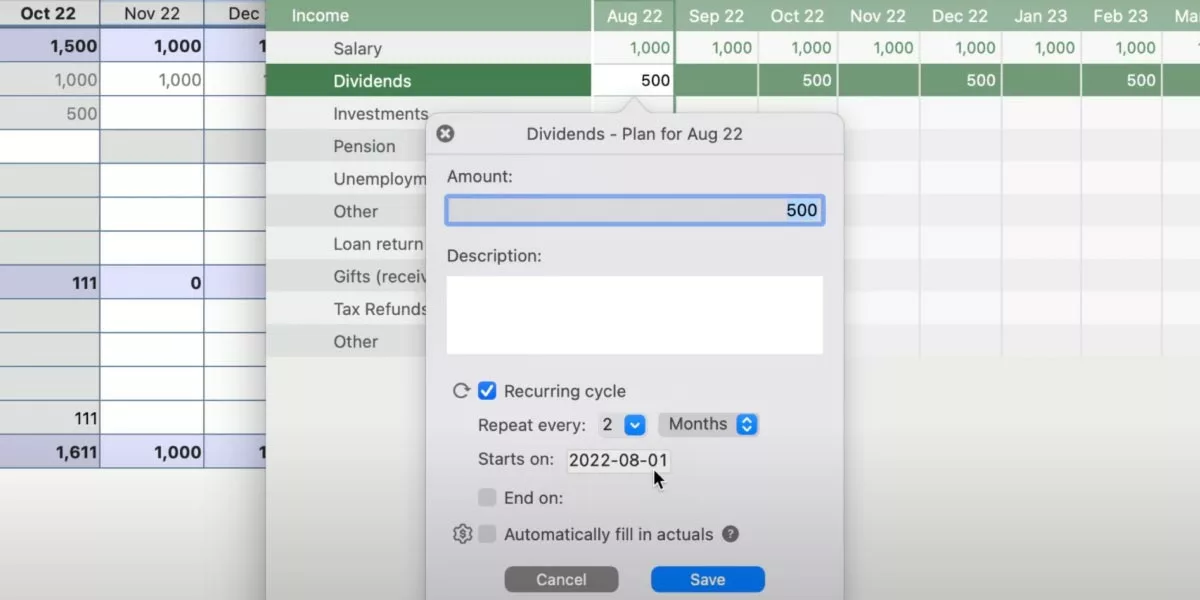
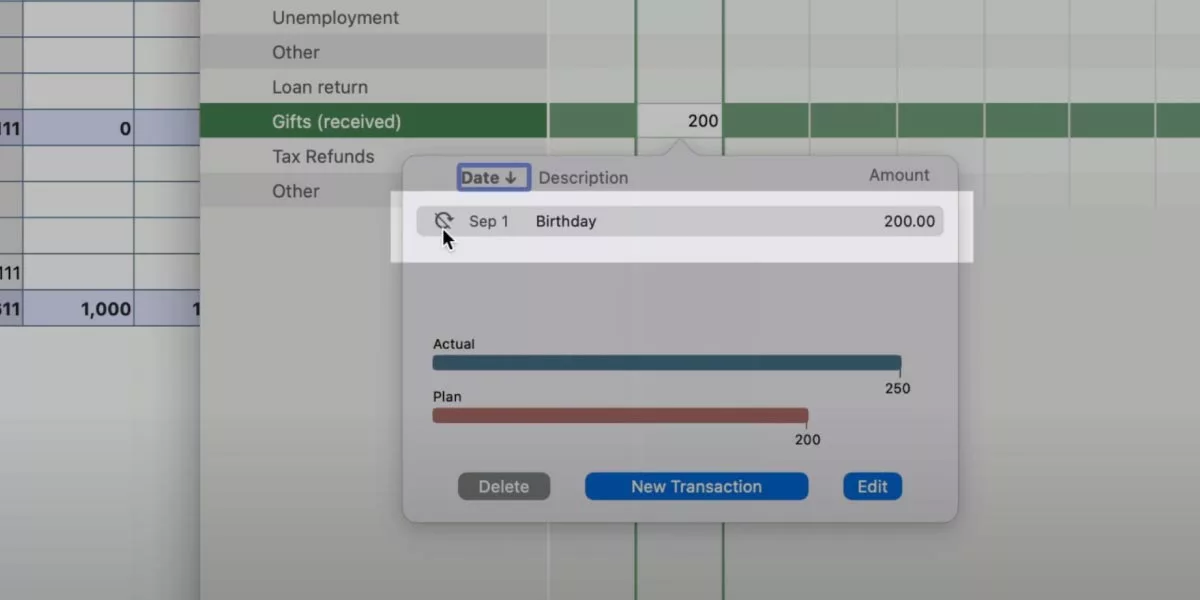
If you had comments in version 1, they will become transaction descriptions in version 2.
If you had any problems during import, like a crash or incorrect data, please write to our support at support@apparentsoft.com.

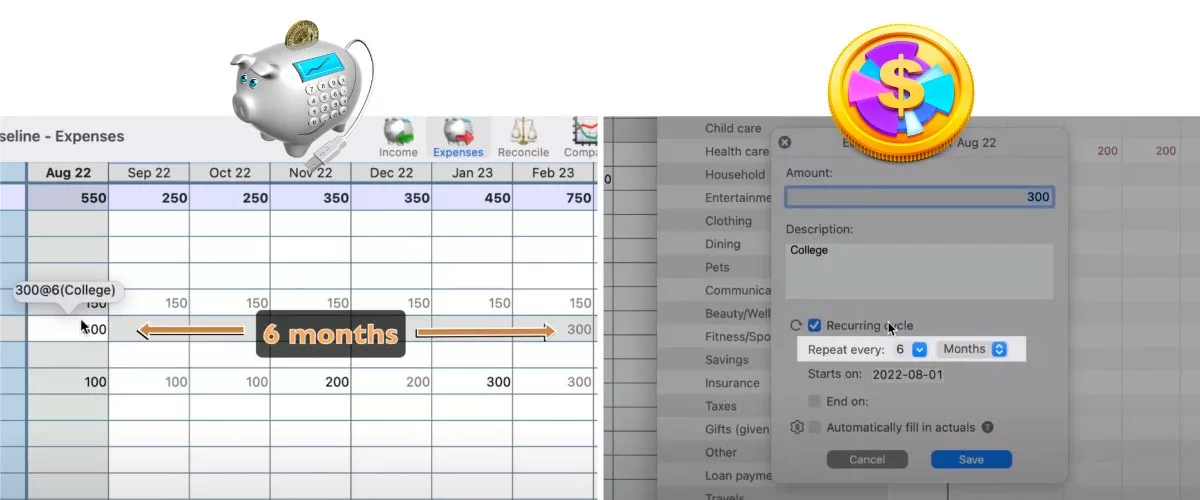
In Cashculator 2, recurring plans that undergo changes in different months will be converted into separate transactions that start at the beginning of the respective month of the change.
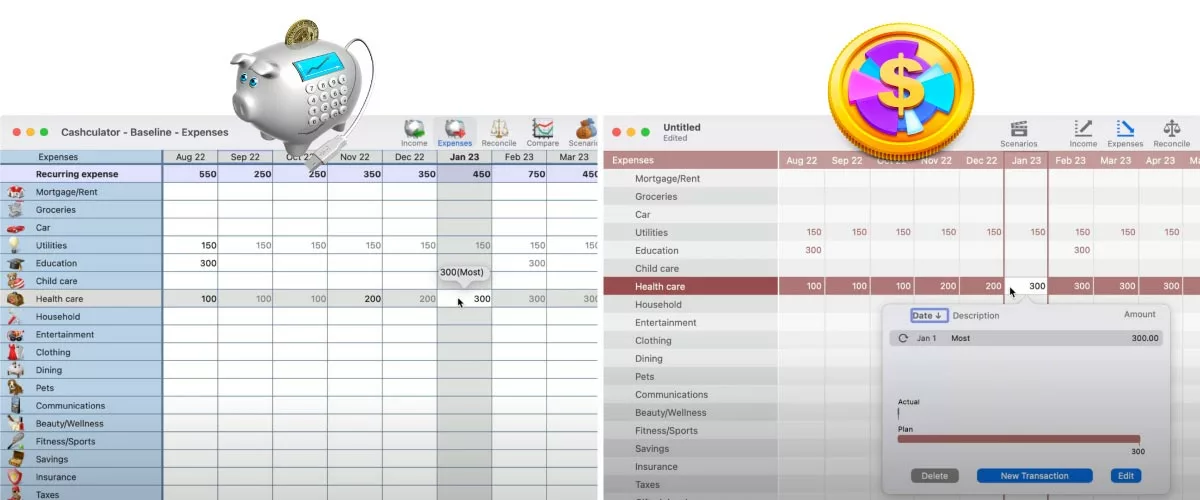
Plans that repeat once every several months should also convert correctly.
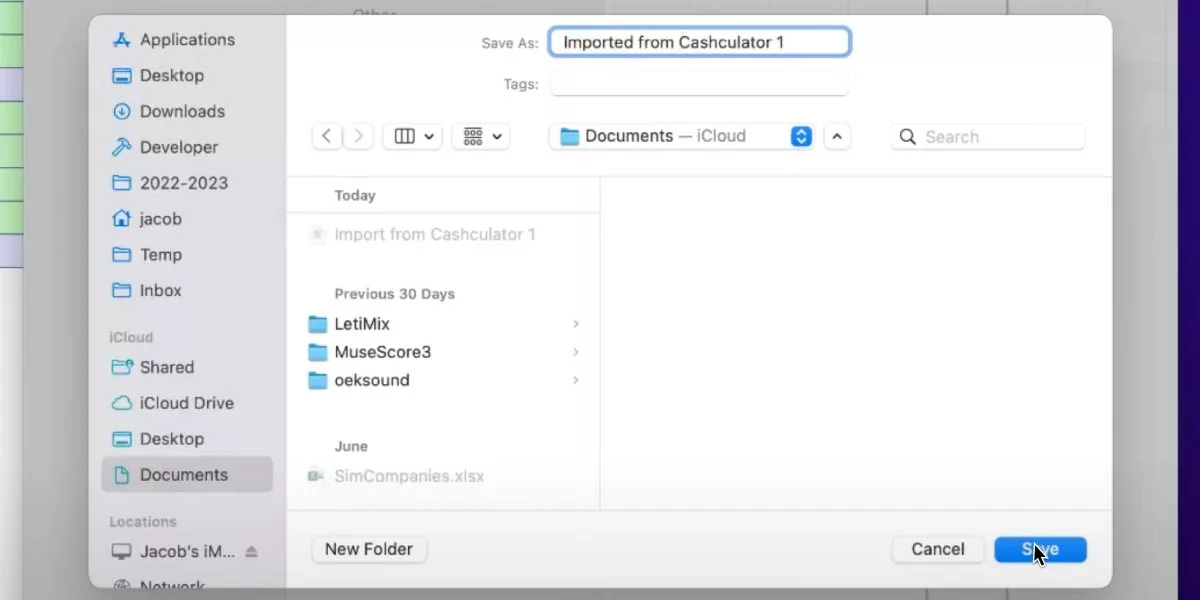
Cashculator 2 is a document-based application. So when everything looks good, just save the new document to where you’d like to keep it.
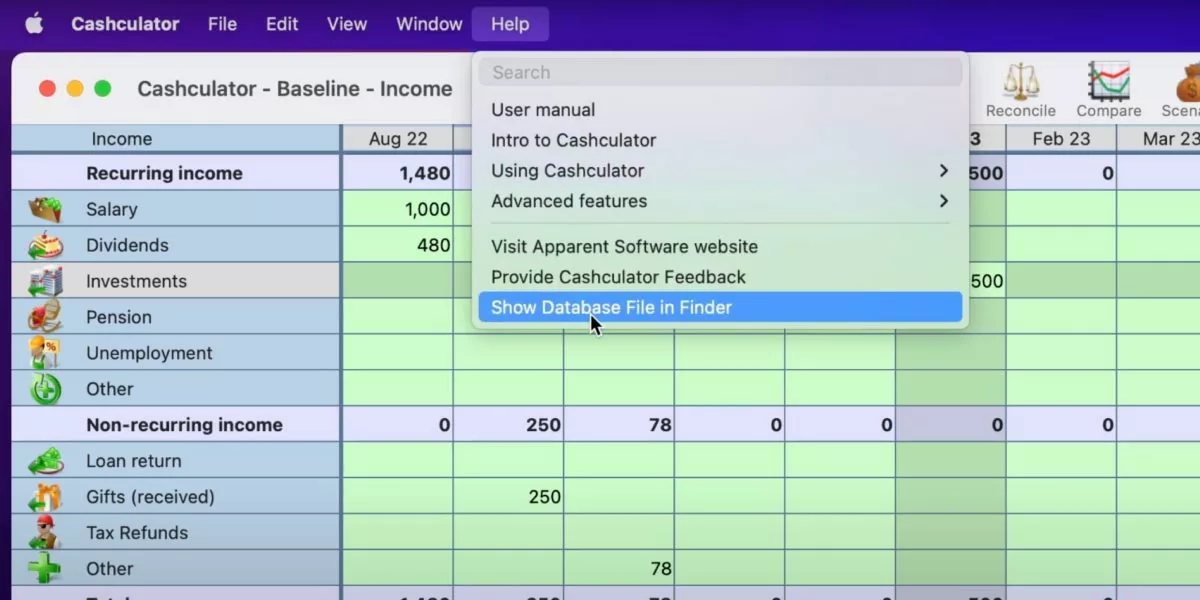
A reminder that if you don’t know where your database in version 1 is located, you can ask to show it from within the application’s Help menu.
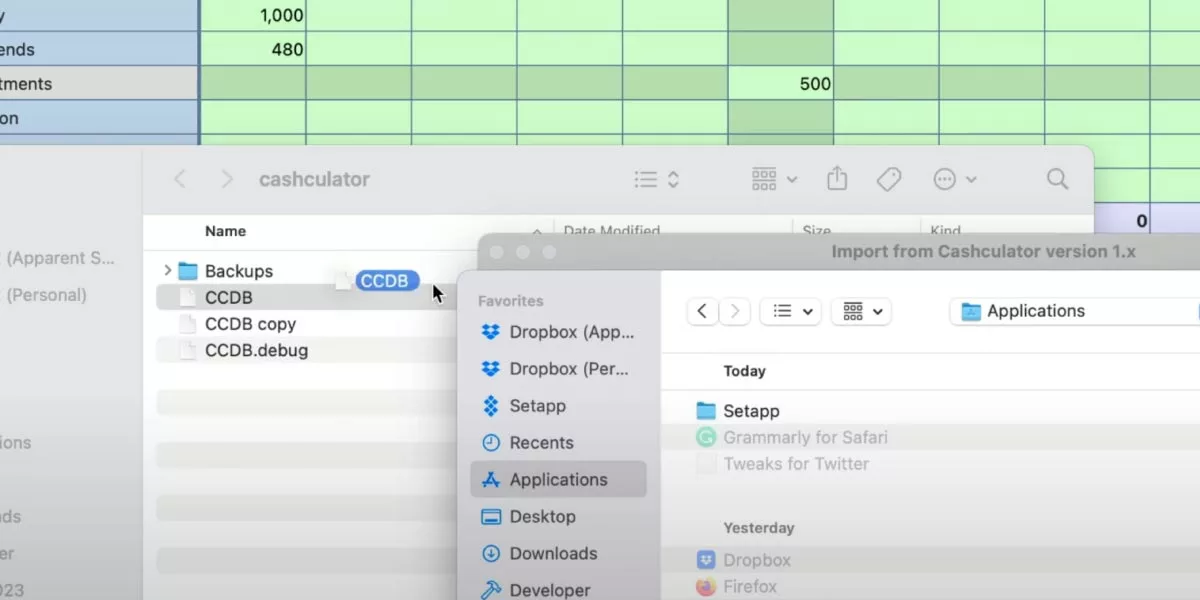
When you open the panel, use it to locate the folder, then drag the file from Finder into the Open dialog box to quickly locate it.
For any questions, visit our forums or contact support.
Ready to take control of your spending?
Wish you could forecast future income, expenses and cash flow? Check out Cashculator — Personal Finance today.
Learn how the program works using the free version, then choose a monthly or yearly subscription to unlock unlimited income and expense categories.
